
Why build a vinyl pool?
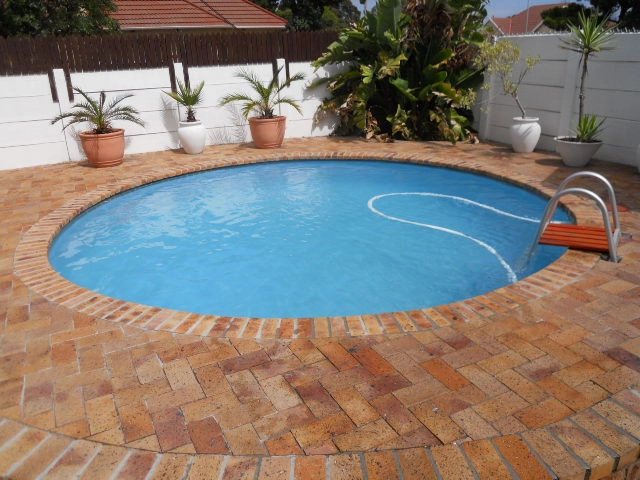
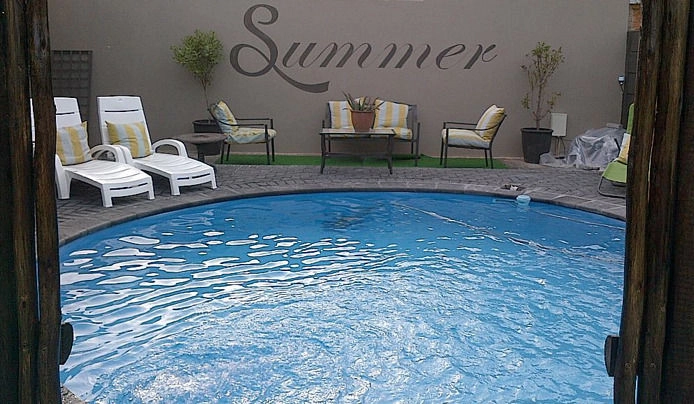
Vinyl-lined pools have been manufactured in South Africa since 1960, offering a cheaper, more durable and lower-maintenance alternative to fibreglass and gunite (concrete) pools. Our liners are manufactured from durable, HF-welded PVC, and can be installed into shells built from cement block, brick, aluminium, wood or steel panels over a sand base.
5 reason to choose vinyl
Care & Maintenance
Use the right equipment
Tools not designed for vinyl pools can tear or scratch the liner. Always use vinyl-safe cleaning gear.
Filtration matters
Your filter removes fine suspended particles before they settle on the pool floor; a skimmer weir box helps remove floating debris.
Use the right equipment
Keep organic debris (leaves, insects) out of the water, it weakens sanitising chemicals, and decomposed matter can stain the liner. Items containing steel or iron can cause rust stains, and chlorine tablets left resting against the liner can bleach it.
Water Chemistry
pH Control
Keep pH between 7.2 and 7.6 using a test kit, adjusting with the correct chemicals as needed.
Chlorination
Discolouration is usually caused by bacteria growing into algae. Add chlorine daily (more in warm weather), ideally at sundown, since daytime heat causes it to evaporate faster. Common chlorine types include calcium hypochlorite, sodium hypochlorite, chlorine tablets, and auto salt chlorination.
Troubleshooting
| Symptom | Likely cause | What to do |
|---|---|---|
| Clear water, slippery pool sides | Early algae growth | Check pH; if incorrect, add hydrochloric acid and a double dose of chlorine. Repeat daily if needed. |
| Slightly turbid after heavy use | Disturbed sediment | Check pH, double-dose chlorine, run the filter continuously until clear. |
| Water turned green | Algae bloom | Correct pH with hydrochloric acid, dose heavily with chlorine (70–80g per 18,000L). Let dead algae settle 2–3 days, then vacuum to waste. |
| Water turned brown (pH below 7) | Iron in the water | Add soda ash (70–80g per 18,000L). Let iron settle 3–7 days, adding chlorine daily. Vacuum settled iron to waste and backwash the filter frequently. |
| Staining | Wrong acid type used | Use only hydrochloric acid for pH correction — sulphuric acid causes staining. |
Unsure what you’re seeing in your pool? Contact us with a photo and we’ll help you diagnose it.
Installation Instructions
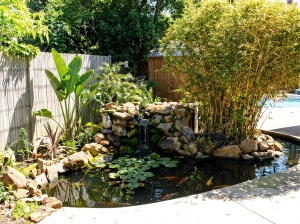
Vinyl Garden Pond
1.
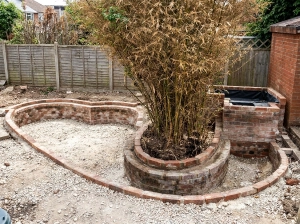
Excavate your hole and build out your pond with brick or block walls.

2.
Prepare your sand base and remove all sharp objects.
3.
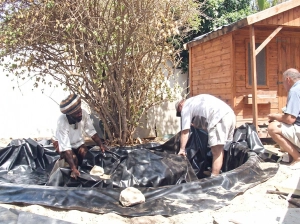
Line your pond with non-toxic black vinyl.
4.
Enhance your garden with an AFFORD-A-POOL vinyl lined pond.
Block-walled Vinyl Pool

1.
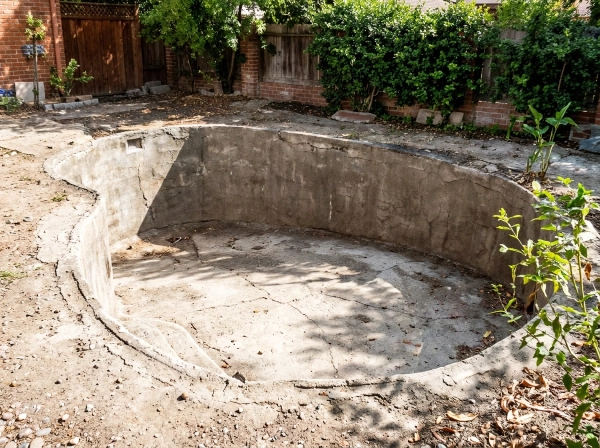
Excavate your pool 30 cm larger than your pool size. Costruct the walls with cement and brick reinforce.
2.
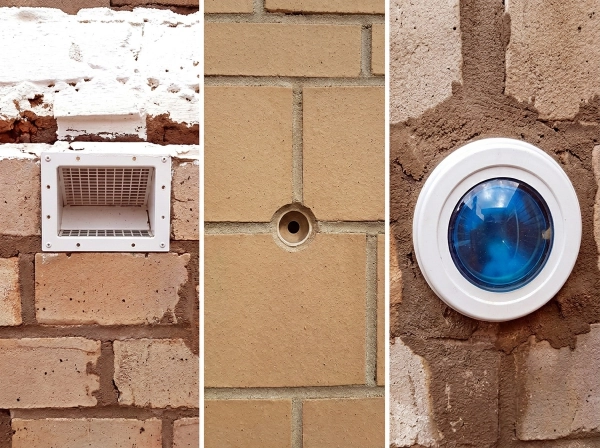
Build your skimmer box, aimflow, light and fibreglass steps into your block wall.
3.
Plaster your walls smooth.

4.
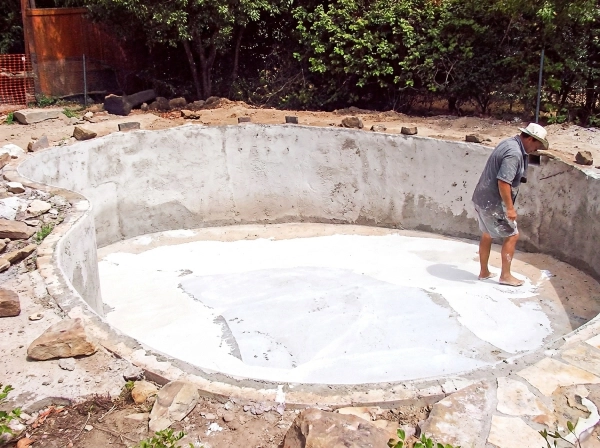
Make sure your pool is level using a water level.
5.
Prepare your sand base and lay out your vinyl liner.

6.
Start to fill your pool with water and lift the vinyl sides over the wall.
7.
When your pool is full, nail the vinyl down. Attach vinyl seals to your aimflow and skimmer box.
8.
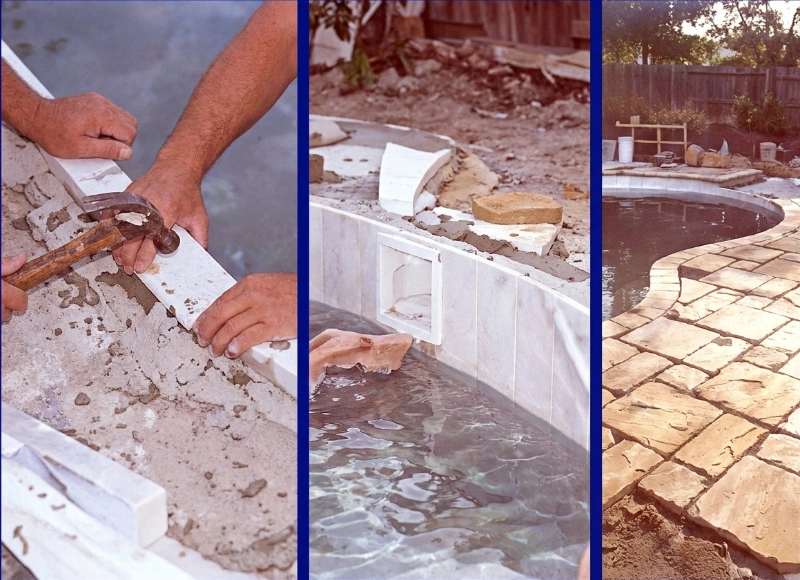
Prepare the size for your coping and paving.
9.
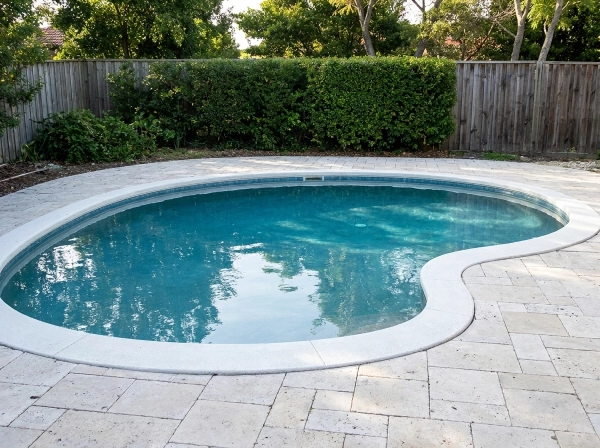
Complete the paving.

10.
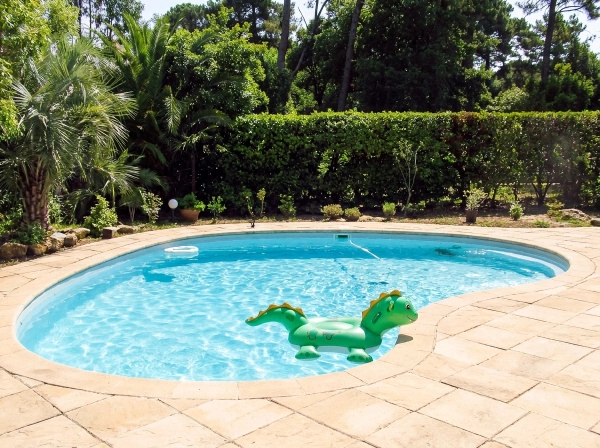
Enjoy your AFFORD-A-POOL.
Portable Pool (Porta Pool)
1.
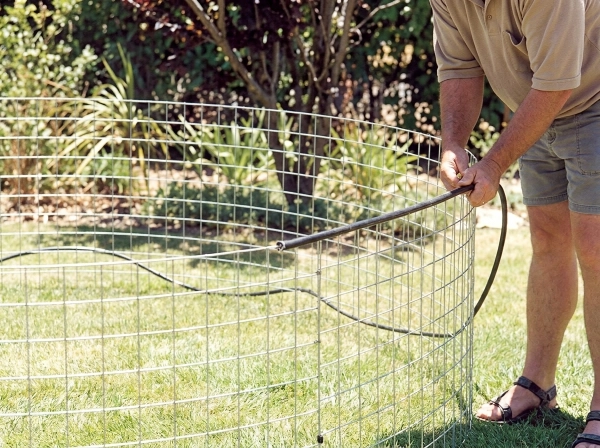
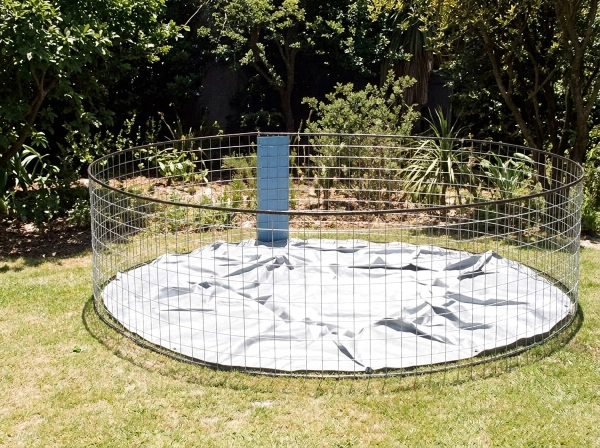
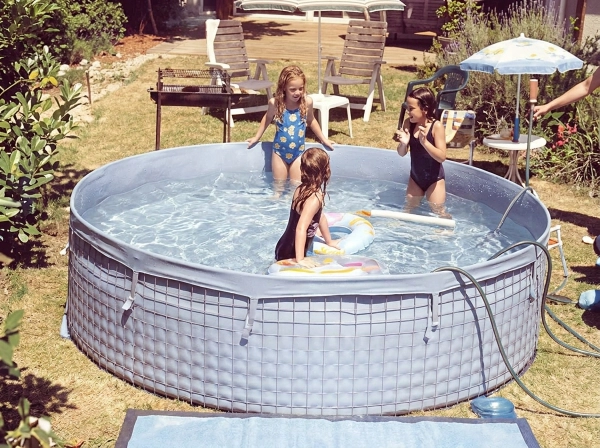
Assemble your wire mesh cage with the easy to connect wire spirals. Snap on the black split tubing over the bottom and top of your wire mesh.
2.
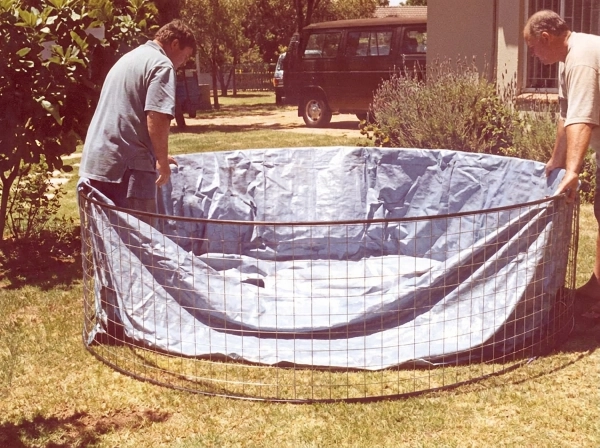
Place the Assembled mesh in your selected level area .Lay out your vinyl liner. Cover your wire spirals with the vinyl apron supplied.
3.
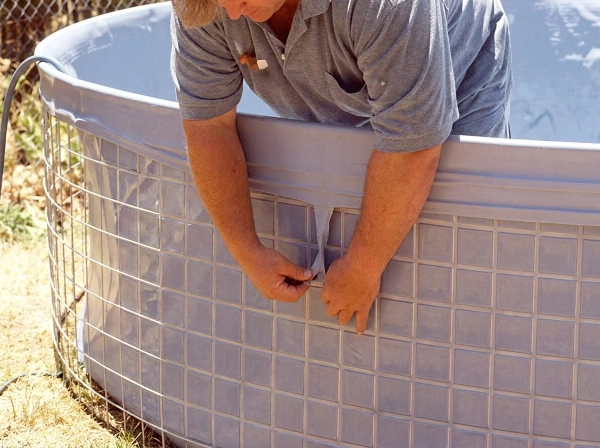
Lift the walls of your liner and fold over the mesh.
4.
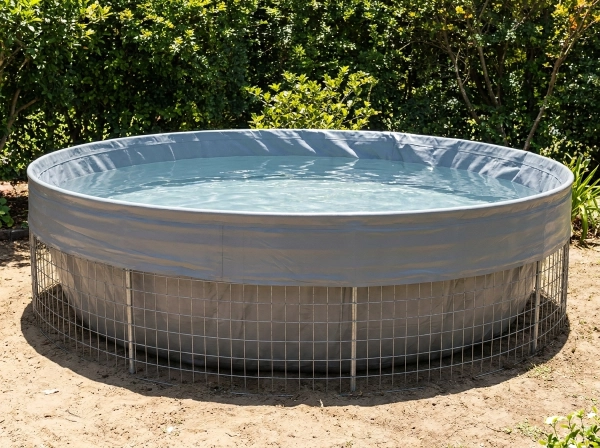
Only tie your liner loosely at this stageClimb into your pool and start to fill.
5.
As the water level rises, continue to evenly take out any slack in the wall by temporarily re-tying the tags.
6.
Enjoy your AFFORD-A-POOL
Oval Vinyl Pool

1.
Excavate your pool hole 30cm larger than the pool size. Construct the two block walls to hold the straight sides of your pool.

2.
Assmble your wire mesh cage with the easy to connect wire spirals.

3.
Snap on the black split tubing over the top and bottom of the wire mesh.
4.
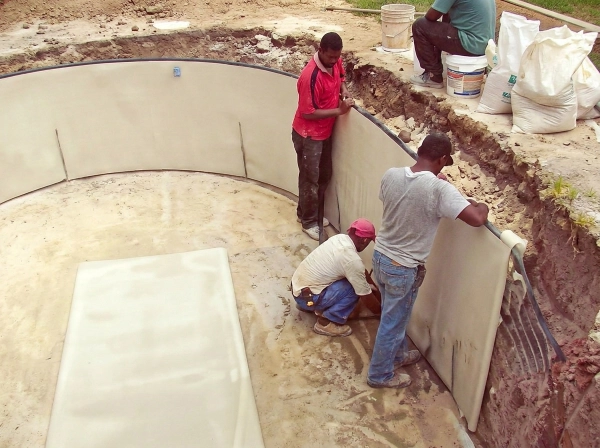
Clip in your flexit boards under the split tubing. Overlap the boards and tape in position.
5.
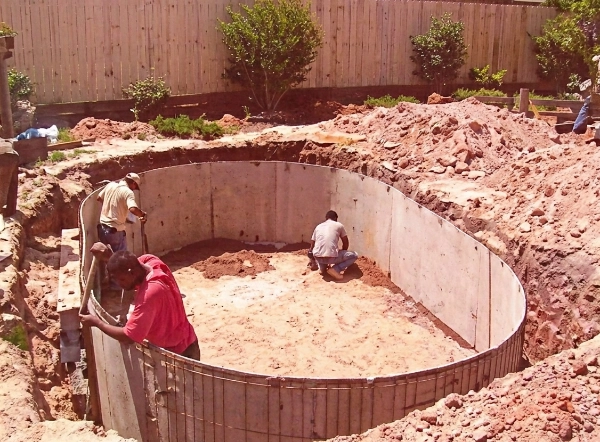
Position the pool walls correctly into the oval shape.

6.
Use a water level to make sure the walls are level.

7.
Prepare the pool base with good clean builders sand.
8.
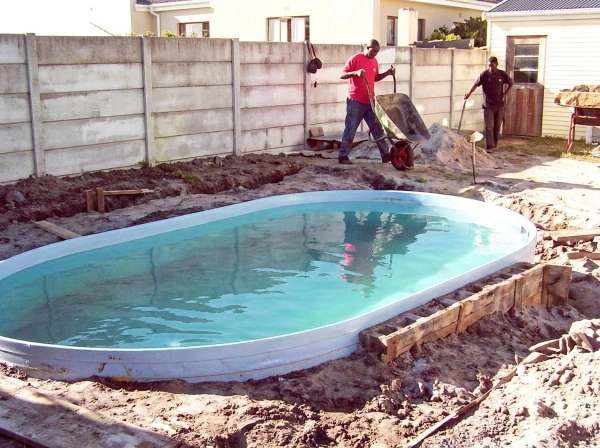
Install your vinyl liner and fill pool with water. Make sure you remove all creases in the vinyl.
9.
Assemble your wire mesh cage with the easy to connect wire spirals. Snap on the black split tubing over the bottom and top of your wire mesh.

10.
Assemble your wire mesh cage with the easy to connect wire spirals. Snap on the black split tubing over the bottom and top of your wire mesh.